
Enhance your dashboard by including a Payments Table to easily track and manage your payments.
![]() Transform your dashboard experience with an enhanced interface that seamlessly integrates a Payments Table, empowering you to effortlessly track and manage all your payments.
Transform your dashboard experience with an enhanced interface that seamlessly integrates a Payments Table, empowering you to effortlessly track and manage all your payments.
Follow the guidelines below to incorporate the Payment Table tile into your dashboard.
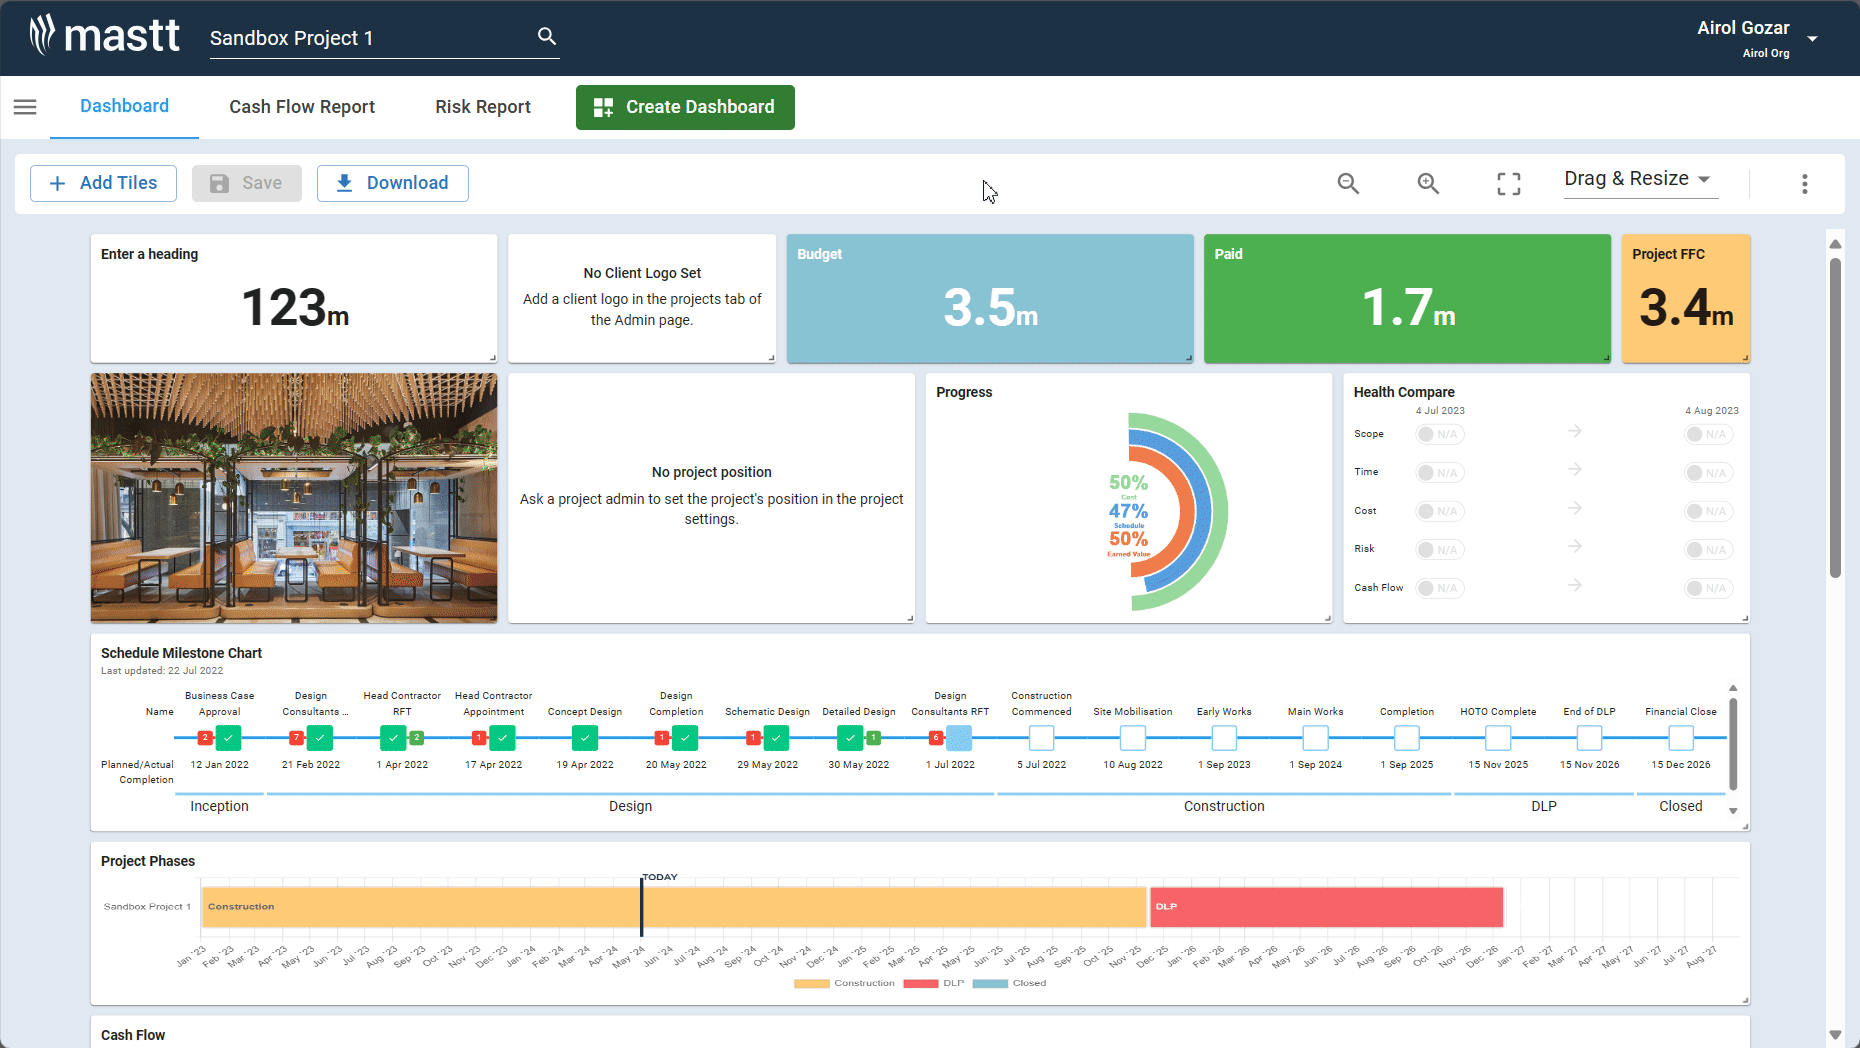
Step 1: On your Project dashboard, click on '+ Add Tiles', then choose 'Cost' from the categories. Locate the 'Payments Table' tile and select it to add it to your dashboard.
Step 2: After adding the Payments Table to your dashboard, click on the '⋮' symbol in the upper right corner of the tile to access all available options and features.
| Options | Description |
| Tile Options | Create a personalized customization with your Payments Table. |
| Adjust Columns | Add/remove columns on your Payments Table. |
| Duplicate Tile | Create a copy of the selected tile. |
| Download Tile | Seamlessly download and your Payments Table. |
| Remove Tile | Delete the selected tile. |
Step 3: Once you've made your changes, click 'Save' to apply them.
Click this link for a breakdown of features and maximize your dashboard experience!