
Use Project Settings as your control center for managing project identity, branding and access control in Mastt. You can update project details, customize branding, set locations and control user access to keep your project information organized and up-to-date.
Before you start
- You need an active Mastt account with project access permissions.
- You need at least one existing project in your Mastt workspace.
- Admin access is required for most settings. Standard users can access the Location, Brand, and User Management tabs.
What each tab does
| Tab | What you can do |
|---|---|
| Name and Photo | Update the project name and image |
| Project Information | Set the Project Number, Point of Contact and Currency Symbol |
| Location | Set the project's latitude and longitude |
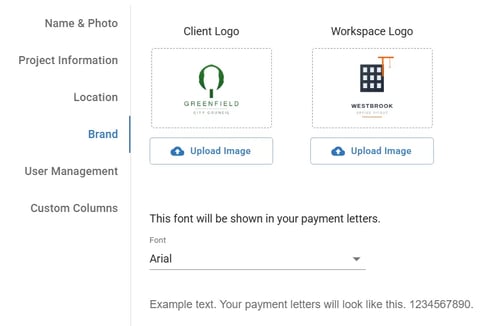
| Brand | Upload client and workspace logos and choose a font style |
| User Management | Add or invite users and set their roles |
Open Project Settings
- Log in to your Mastt account.
- Locate the project you wish to manage.
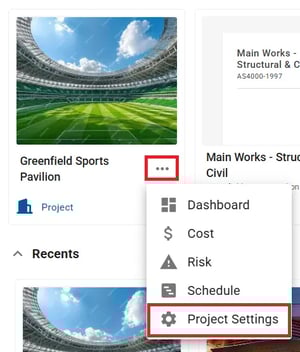
- Click the three dots menu icon next to the project name.
- Select Project Settings from the dropdown menu.
Tip: You can also access Project Settings by clicking the Gear icon in the bottom left corner when inside a project.
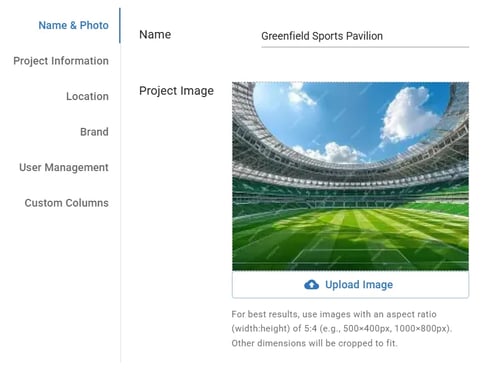
Update the project name and image
Warning: For best results, use images with a 5:4 aspect ratio (width to height). Example sizes: 500×400px or 1000×800px. Images outside this ratio may be cropped in the project card view and other displays.
- Click the Name and Photo tab.
- Update the project name in the text field if needed.
- To change the project image, click Upload Image.
- Select your preferred image file (JPG, PNG or WEBP format).
- Click Save in the bottom right corner to apply changes.
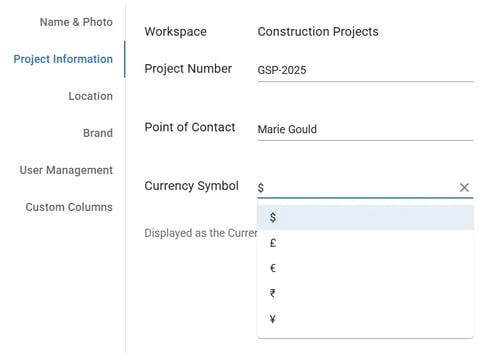
Configure project information
- Click the Project Information tab.
- Add or update the Project Number if needed.
- Enter the primary Point of Contact details.
- Select or enter a Currency Symbol to display on KPI tiles.
- Click Save at the bottom of the form to store your changes.
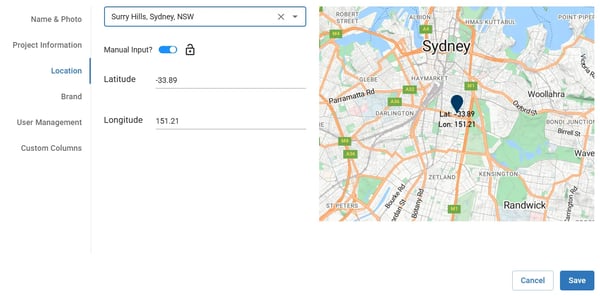
Set the project location
- Select the Location tab.
- Type the address in the search field to auto-populate the latitude and longitude fields, or toggle Manual Input to unlock the fields and enter the latitude and longitude manually.
- Click Save to confirm the location.
Customize project branding
- Go to the Brand tab.
- To upload a client logo, click Upload Image under Client Logo (available to project admins and workspace admins).
- To upload a workspace logo, click Upload Image under Workspace Logo (available to workspace admins only).
- Select your preferred font style from the dropdown options.
- Click Save to apply your branding preferences.
Manage user access
- Click the User Management tab.
- Add or invite users who need access to this project.
- Set up appropriate roles for users you want to add.
Users can be added from different workspaces or as completely new users.
Note: For detailed instructions, refer to How to Add a User to a Project and How to Manage Access for Projects/Programs.
Configure custom columns
Custom columns allow you to add project-specific data fields. To add or delete custom columns, contact Mastt Support directly.
Review your changes
- Navigate through each settings tab to review your updates.
- Make any additional changes using the same process.
All changes are saved individually as you complete each section.
Troubleshooting and FAQs
| Question | Answer |
|---|---|
| What if I can't upload my project image? | Ensure your image is in JPG, PNG or WEBP format and under 5MB. For best display, use a 5:4 aspect ratio (e.g., 500×400px or 1000×800px). Try refreshing the page if the upload button isn't responding. |
| Why won't my location coordinates populate automatically? | Try typing a more specific address or landmark near your job site. If the issue persists, enter coordinates manually. |
Need help?
Contact Mastt Support for additional assistance with project settings.