This guide covers how to navigate your projects in Mastt and configure essential project settings. You'll learn how to access projects, update project information, customise branding, and manage user access.
Before You Start
- Ensure you have access to at least one project in your workspace
- Admin access is required to view and edit User Management settings
Viewing and Accessing Projects
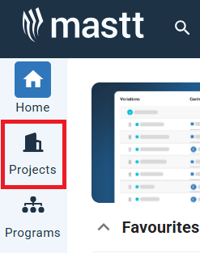
After logging in, your homepage shows your recently accessed projects and favourites.
To view all your projects, click Projects in the left navigation sidebar.
Switch Between Views
Use the toggle icons in the top right corner of the Projects page:
- List view (horizontal lines icon) — shows projects in a list
- Grid view (four squares icon) — shows projects as thumbnail cards
Open a Project
Click the project title or thumbnail image to open it.
Favourite a Project
Favourite projects appear on your Home page for quick one-click access.
- Click the star icon on the project tile to add it to your favourites
- Click the star icon again to remove it
Find a Project Quickly
- Click the Search bar at the top of the page
- Type the project name or keyword
- Select the project from the results
Accessing Project Settings
You can access Project Settings in three ways:
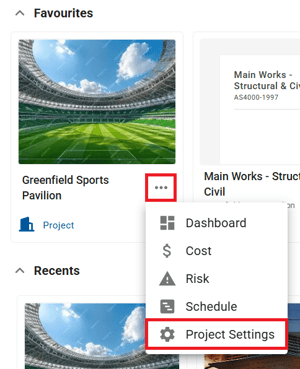
From the Home Page or Projects Page
- Navigate to the Home page or Projects page
- Click the three dots beside the project name
- Select Project Settings
From Within a Project
- Open your project
- Click Settings in the bottom left navigation bar
From Admin (Admin Users Only)
- Click your Profile icon in the top right corner
- Select Admin
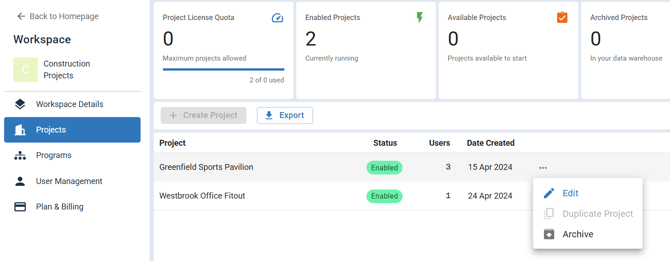
- Click Projects in the left navigation bar
- Find the project you want to manage
- Click the Action button
- Select Edit from the dropdown
The Admin area is your central place to manage all project settings and access across your organisation.
Configuring Project Settings
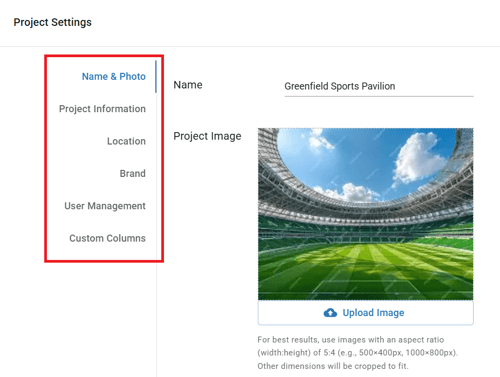
Name & Photo
- Click Name and Photo in the left menu
- Edit the Project Name as needed
- Upload or change the Project Image (this thumbnail appears on your Projects page)
- Click Save
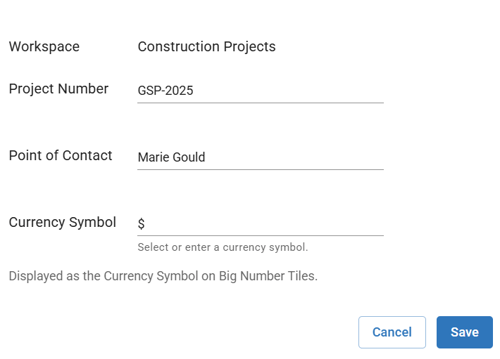
Project Information
- Click Project Information in the left menu
- Review or update the following fields:
- Workspace — displays which workspace the project belongs to (read-only)
- Project Number — enter or update your project reference number (optional)
- Point of Contact — enter the primary contact person for the project (optional)
- Currency Symbol — select or enter a currency symbol (e.g., $, €, £); this displays on big number tiles across your project
- Click Save
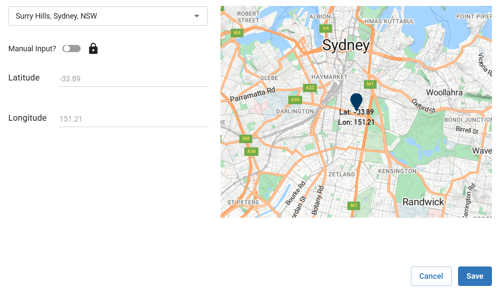
Location
- Click Location in the left menu
- Use the Search Location dropdown to find and select your project location
- Alternatively, toggle Manual Input to enter latitude and longitude coordinates directly
- The map on the right updates to display the project location as you make changes
- Click Save
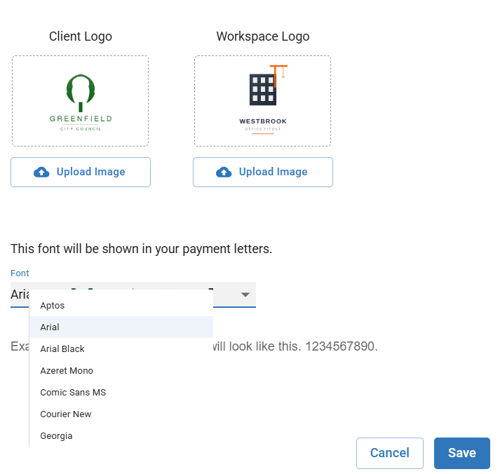
Brand
- Click Brand in the left menu
- Upload or update the Client Logo (appears on project documents)
- Upload or update the Workspace Logo if needed
- Click the Font dropdown to select a font for payment letters
- Review the example text to preview the font
- Click Save
User Management
Admin access is required to view this section.
- Click User Management in the left menu
- View all users currently assigned to the project
Add a New User
- Click the Action button
- Enter the user's email address, or select from available workspace users
- Select the user role: Admin or Standard
- Click Invite
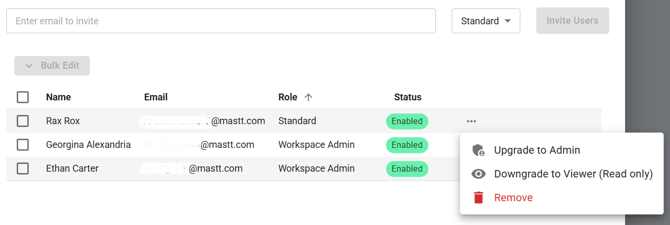
Modify or Remove a User
- Click the Action button beside the user's name
- Select Edit to change their role, or Remove to remove them from the project
For detailed instructions on managing users, refer to our help articles on creating users, managing access, and understanding permissions.
Custom Columns
Custom Columns are managed by Mastt directly. Contact Mastt Support if you need changes or updates to Custom Columns.
Closing Project Settings
Click the X button in the top corner of the pop-up. Your changes are automatically saved and applied to the project.
Troubleshooting & FAQs
Q: Why can't I see the User Management section?
You need Admin access to view and manage users. Contact your Workspace Admin to request elevated permissions.
Q: How do I change which workspace a project belongs to?
The Workspace field is read-only and cannot be changed after project creation. Contact Mastt Support if you need to move a project to a different workspace.
Q: What if my location search isn't finding the correct address?
Toggle on Manual Input and enter the latitude and longitude coordinates directly. You can find these coordinates using Google Maps or a similar mapping service.
Q: How do I update Custom Columns for my project?
Custom Columns are managed by Mastt. Contact Mastt Support through the Help Centre to request changes.
Need Help?
Contact Mastt Support for additional assistance with project settings and configuration.