This guide covers the essential workflow for creating contracts, managing payments, and issuing payment certificates in Mastt. Use this process to maintain financial control, ensure compliance with contract terms, and track payment milestones throughout your construction projects.
Before You Start
- Have your contract documents and payment details ready
- You need access to the Cost module in your project
Setting Up Your Contract
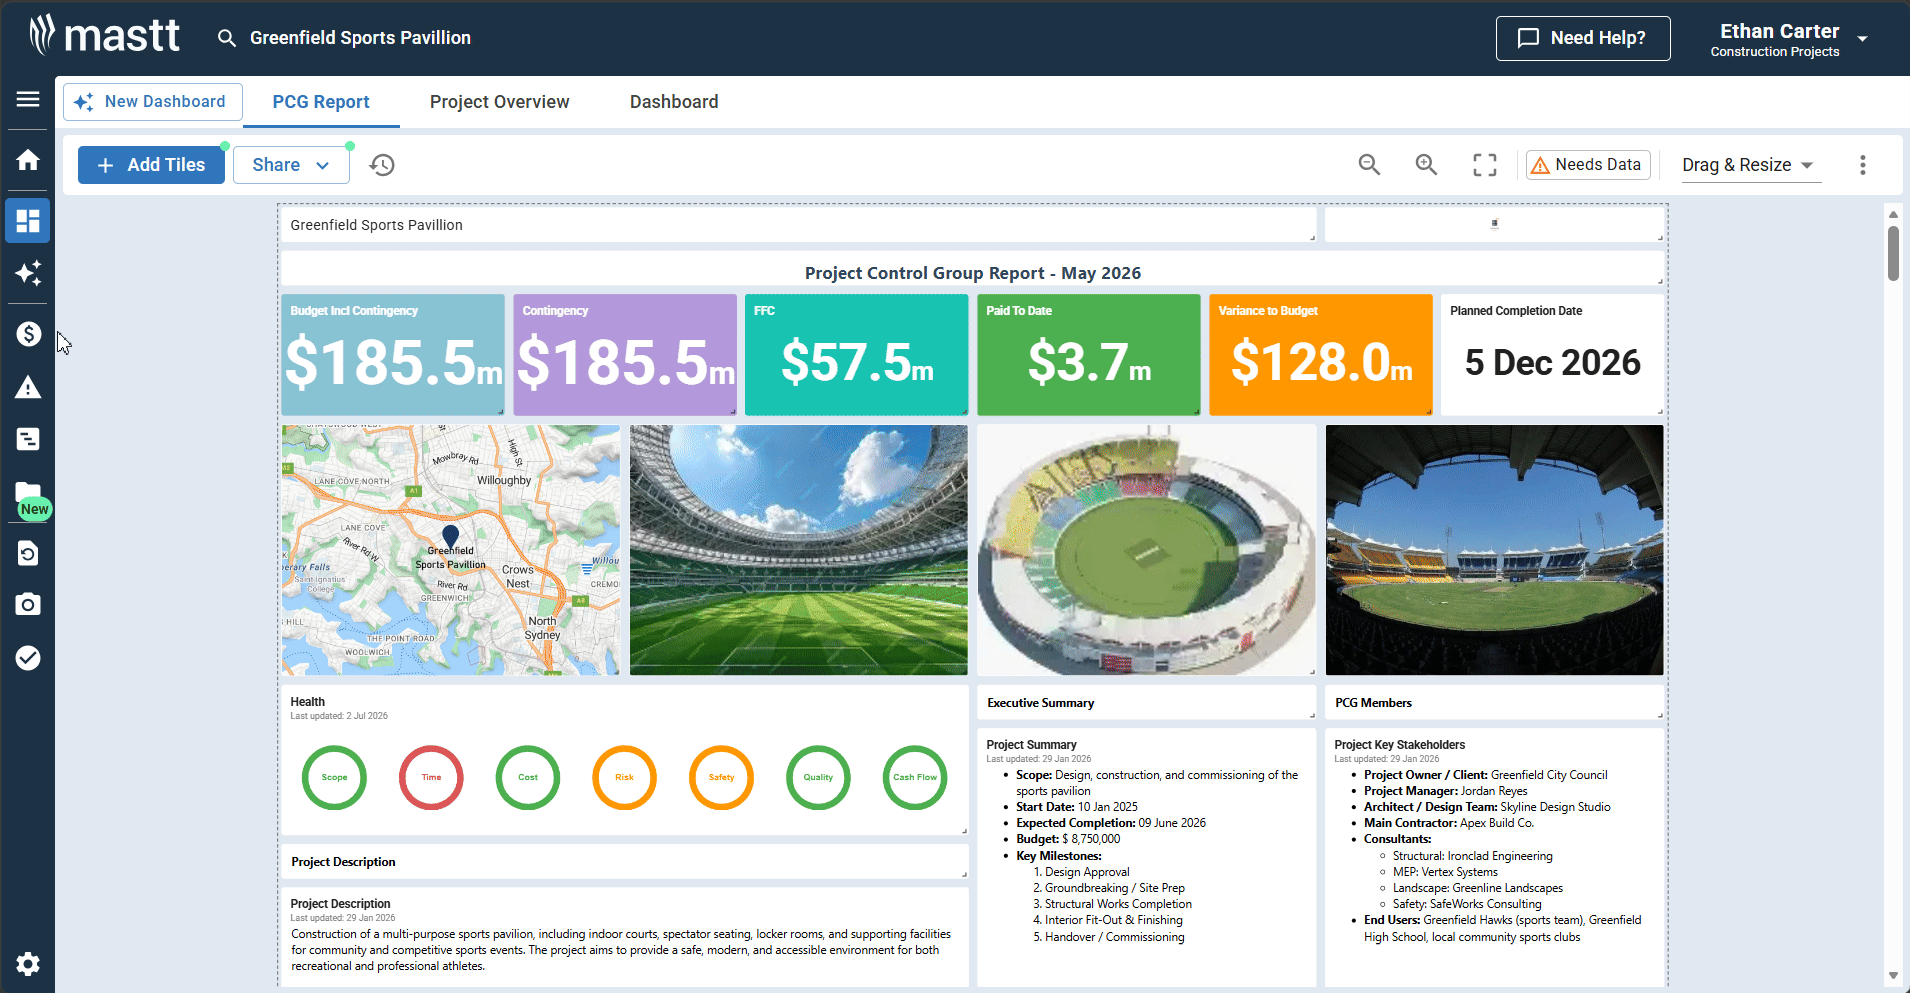
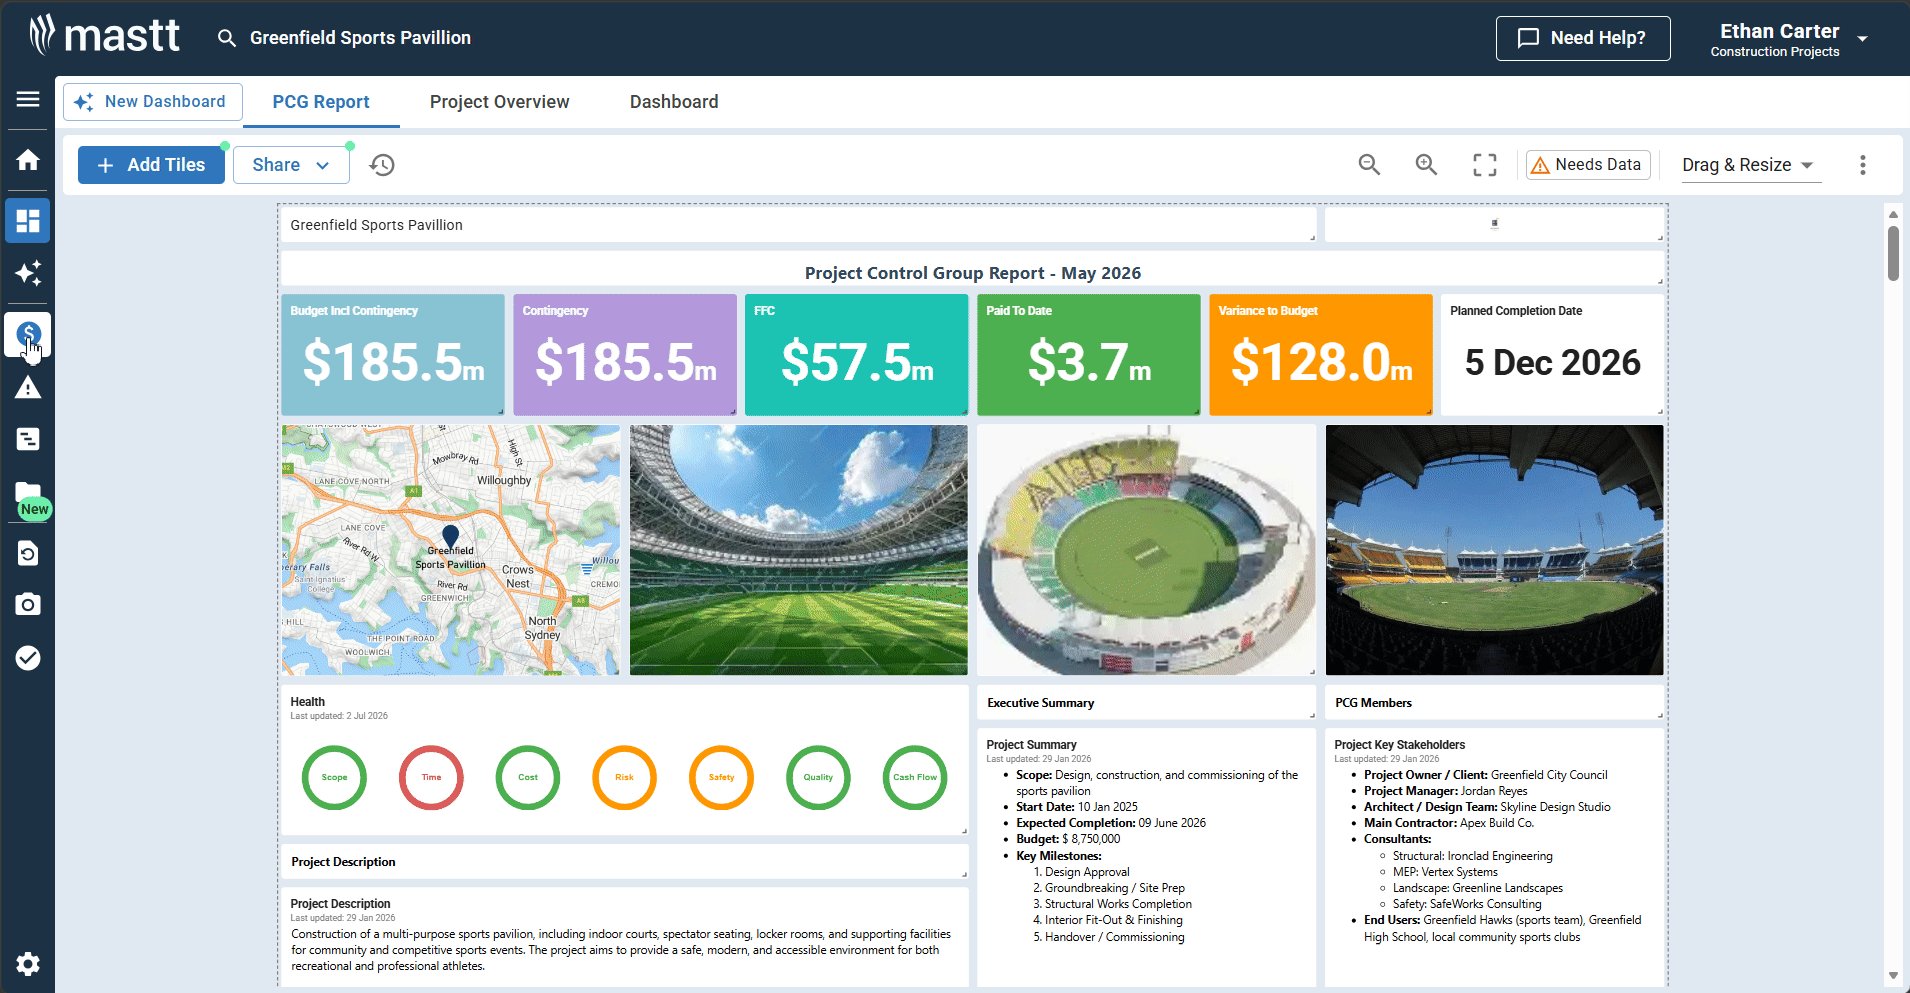
- Navigate to your project and click Cost in the side navigation bar.
- Click the + Add button and select Add Contract.
- Complete all required fields in the contract form manually, or click Upload File (or drag and drop your file) to have Mastt AI extract the key details automatically.
- Add relevant documents or comments in the sections at the bottom.
- Click Add to create the contract.
You can also add a contract directly from a budget item by clicking the Action button next to the budget item and selecting Add Contract. For a detailed guide on AI-assisted data entry, see How to Use AI Pre-Fill for Contracts and Payments.
Adding a Payment
- On the Overall page, expand your budget to find the contract, then click the Action button next to it.
- Select + Add Payment.
- Complete the payment details manually, or click Upload File (or drag and drop your file) to have Mastt AI extract the key details automatically.
- If entering details manually:
- Enter the date in the Date Approved field for approved payments
- Specify the Cash Flow Month for paid payments
- Use the Percentage Complete or Amount Approved fields to record payment amounts
- Fill in any additional required fields in the Additional Field section
- If you uploaded a file, review the pre-filled data and verify the details are correct before proceeding.
- Add notes and attachments using the available options.
- Click Add to submit your payment record.
You can also add a payment from the Payments section by clicking + Add Payment. If you use this method, click + Add Contract in the form to link the payment to the relevant contract.

Generating Payment Certificates
- Navigate to the Payments register.
- Click the Action button beside the relevant payment.
- Select from the available PDF options:
- Payment Certificate
- Payment Schedule
- Payment Recommendation
- Final Payment Certificate
- Payment Report
- If prompted, select any available attachments to include, or click Continue without attaching files.
Troubleshooting & FAQs
Q: Why is the AI pre-fill not extracting all the details from my PDF?
Ensure your PDF is clear and not scanned at a low resolution. Mastt AI works best with text-based PDFs. Review the extracted data and manually update any missing fields.
Q: How do I link a payment to a contract if I created it from the Payments section?
In the payment form, click + Add Contract and select the relevant contract from the list.
Need Help?
Contact Mastt Support for additional assistance with contracts and payment certificates.